In a previous post, I explored how Azure Monitor Agent (AMA) could turn Event Hubs into a reliable, scalable backbone for your logging infrastructure, effortlessly pulling logs from Azure VMs and routing them to Event Hubs or Storage Accounts.
But here comes the bad news: Microsoft just announced the retirement of this ‘Send data to Event Hubs and Storage (Preview)’ feature on July 31, 2026.
The somewhat good news? They’re replacing it with a fresh capability. While it won’t replicate the retiring options, - so, it’s not really a replacement - it promises a smoother, more streamlined setup for the ADX fans.
The Two Features
As Microsoft retires the ‘Send data to Event Hubs and Storage (Preview)’ feature, it’s time to compare what you’re losing versus what the new AMA-to-ADX capability delivers. This table breaks down the core differences helping you assess the impact on your Sentinel logging pipelines, and hybrid environments.
| Category | Old Feature (AMA to Event Hubs/Storage) | New Feature (AMA to ADX) | Comment |
|---|---|---|---|
| Destinations | Event Hub / Storage Account | ADX | If you forwarded Event Hub data to ADX, the new option will be easier/cheaper - no Event Hub middleman needed. There is no direct replacement for Storage destinations or if you used Event Hub for other reasons. |
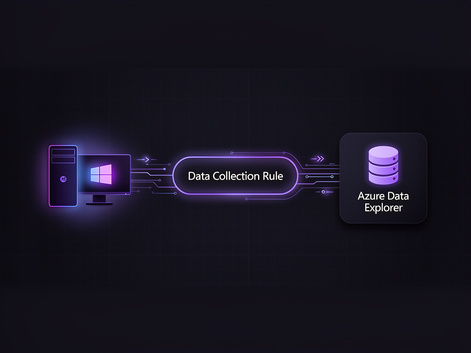
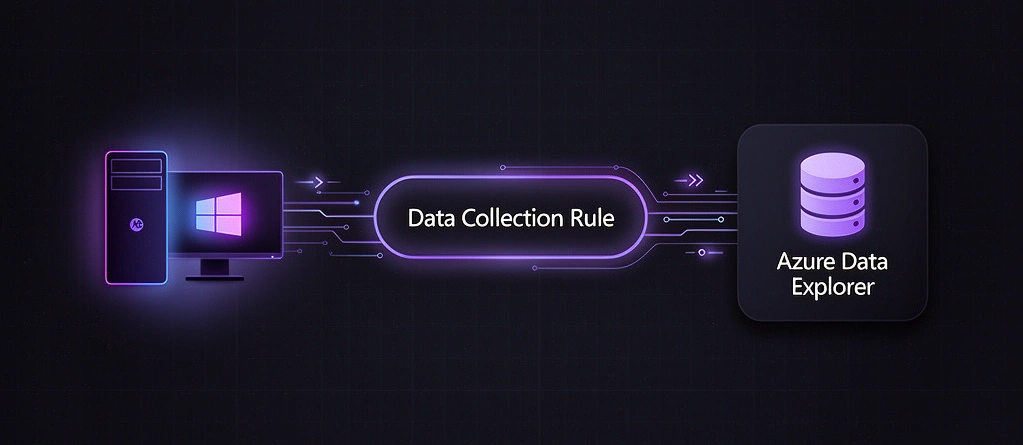
| Machine Limitations | Only Azure VMs | Azure VMs or ARC-enabled machines | The new tool covers on-prem machines via ARC. A win for hybrid environments. |
| Transformation Support | No support for transform KQL statements | Supports transformation | Less critical for cheap storage, but great to have for optimized ADX ingestion. |
| Schema support | No SecurityEvent/CommonSecurityLog schema support only Event/Syslog. | Must process/transform data yourself. | |
| Destination tables | Fixed destination tables mean data lands in predefined spots, like the Event table for Windows Event logs. | - | |
Step-by-Step Configuration Guide for ADX
Before diving in, check Microsoft’s official documentation for the high-level overview. Although helpful, their guidance often lacks important details. This guide fills those gaps with tested steps that work.
1. Prerequisites (Don’t Skip These)
Set up these foundational pieces first. The DCR creation wizard will handle the rest automatically:
- ADX Cluster: Fully created, running, and accessible in your target region
- User-Assigned Managed Identity: Create one upfront even if you don’t plan to use one.
- ARC-Enabled Machine(s): Connected and healthy in your environment (or Azure VMs if testing there)
- Permissions: Ensure you have permissions to create DCRs and related Associations, and to create ADX dbs and assign permissions to it.
2. Configuration steps
After this, the process becomes surprisingly streamlined. The DCR creation process auto-provisions additional resources and assigns all necessary ADX permissions.
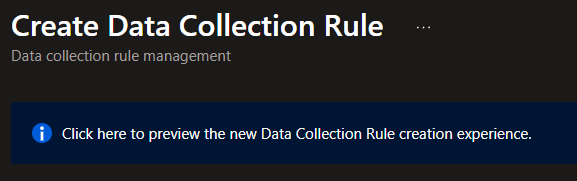
Step 1: Access the New DCR Creation Experience
The classic Data Collection Rule UI won’t work. ADX destinations aren’t supported there.
Navigate to Azure Portal > Data Collection Rules > Create > New experience (or via Azure Portal search). This modern wizard unlocks the ADX destination option.
Step 2: Select Correct Region
When creating your DCR, match the region where your ADX cluster lives.
DCRs have a limitation: they can only send data to ADX instances in the same Azure geography. No cross-region forwarding. Double-check your ADX location first (ADX resource → Overview → Location).
Step 3: Configure Managed Identity (Most Common Failure Point)
Enable Managed Identity during DCR creation and select User-assigned.
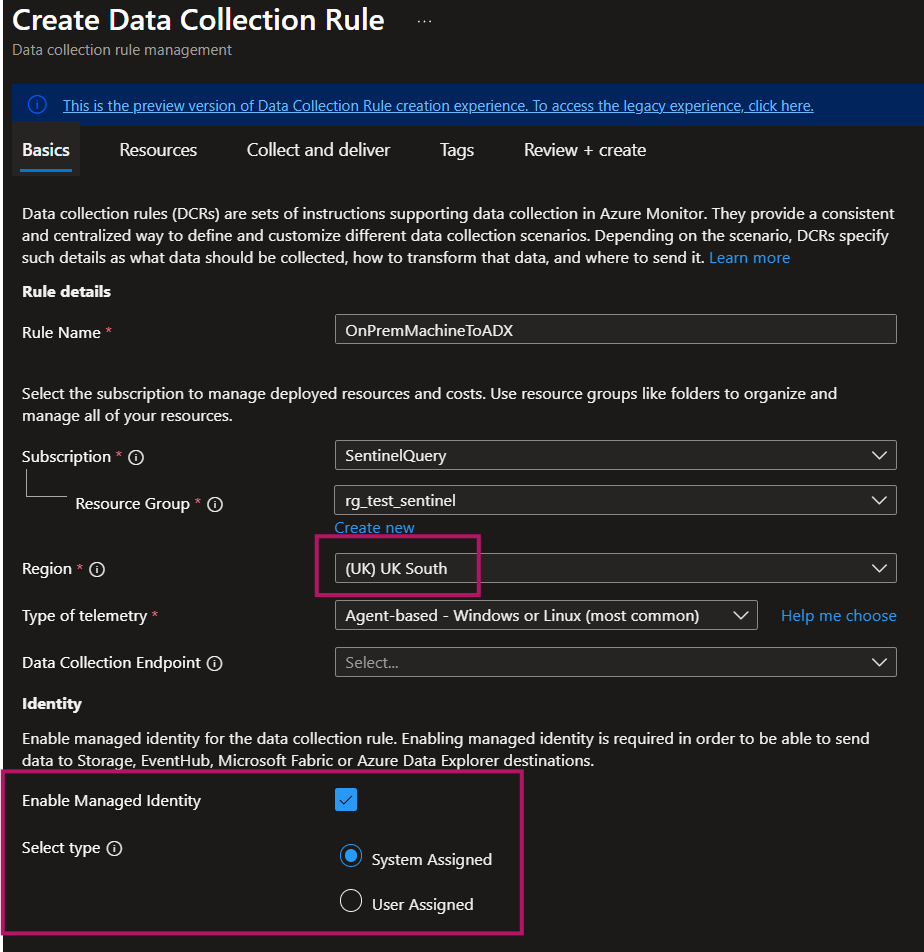
Microsoft’s documentation states: ‘Enable Managed Identity authentication and select the user-assigned managed identity associated with the VMs that use this DCR.’ But you don’t actually need your identity to be associated with any machines - with ARC machines this is not even possible.
Configuration:
- The user-assigned managed identity doesn’t need any association with your source machines - so just ignore that part of the statement.
- Simply pick the identity you created in Prerequisites
- DCR creation auto-grants the “Database Ingestor” permissions on your ADX cluster during deployment
- Use a user-assigned managed identity for deployment; you cannot use a system-assigned one or deployment will fail. What happens if…?:
- DCR creation tries to grant the managed identity permissions on ADX.
- That permission grant fails when a system-assigned managed identity is used (exact cause is unclear to me).
- The failure aborts the whole DCR creation, so no DCR is created.
- You can’t fix permissions afterward because the system-assigned identity only exists with the resource, and the resource is never created due to the failure.
Step 4: Select Data Sources and ADX Destination
Pick your desired log sources first (Windows Events, Syslog, Performance Counters, etc.), then configure the destination:
- In the Destination section, select Azure Data Explorer from the dropdown
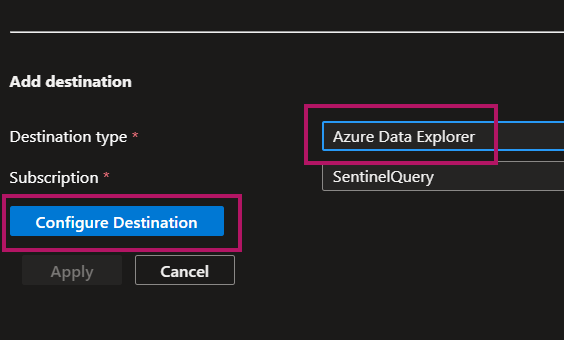
- Choose your pre-existing ADX cluster from the list
- Database selection: Pick an existing database if ready, or create a new one directly in the wizard
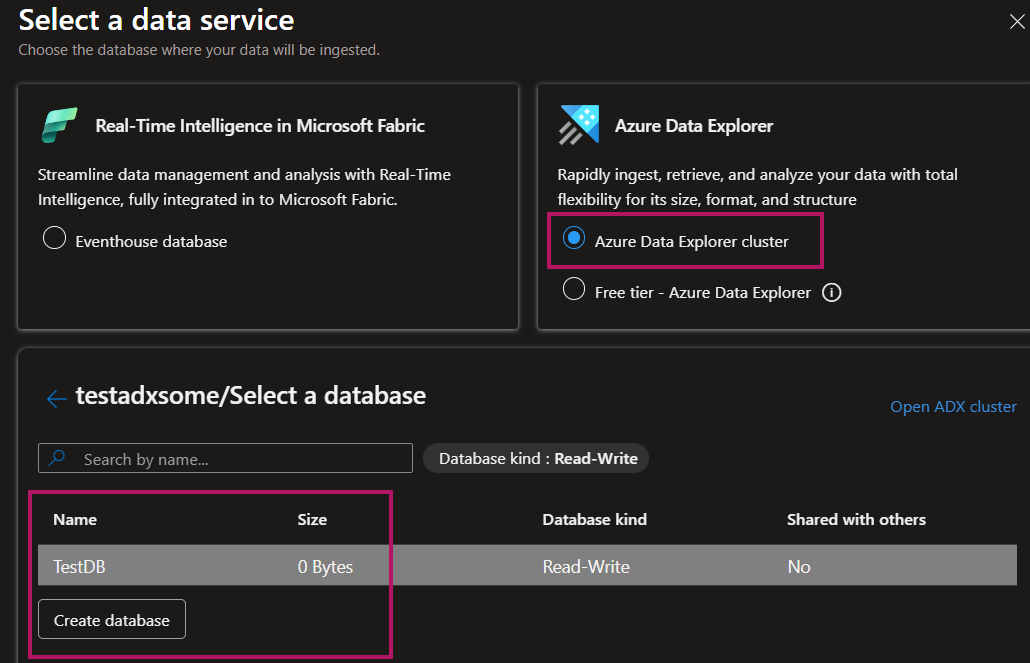
- ⚠️ Database creation happens immediately at this step. Even if DCR creation fails later (e.g., due to permissions).
- Click Select > Apply to finalize the destination configuration
After this, the logs should show up in the ADX in a few minutes.
Microsoft’s Documentation Corrections
1. NativeIngestion Usage
The official docs claim: “The DCR creation process gives the required user-assigned managed identity the NativeIngestion usage option permission on the destination you choose.”
That permission does not appear to be granted on your ADX at all. The NativeIngestion usage option guide also states that the All Database Admin role is required, but that does not seem to matter either.
If you have permission to assign roles on your ADX and you create the DB during DCR creation, the following roles are provisioned:
- Database Admin: When you create the database in Step 4, you immediately receive Database Admin role on that new database
- Database Ingestor: If DCR deployment succeeds, your user managed identity gets Database Ingestor role automatically
2. Managed Identity to be associated with the VMs that use this DCR
Also, the docs says: “Enable Managed Identity authentication and select the user-assigned managed identity associated with the VMs that use this DCR.”
But you don’t need to assign the identity to any machines. For Arc-enabled machines, assigning a user-assigned managed identity to them is not even possible anyway.
3. User-Assigned Managed Identity ONLY
While the guide never states this directly, it implies it by telling you to choose a user-assigned managed identity. Also, if you choose a system-assigned managed identity instead, the creation process fails with this error:
{
    "status": "Failed",
    "error": {
        "code": "InvalidDestination",
        "message": "The managed identity with app Id <app_id> enabled on the rule must have 'ingestor' permission assigned in Adx destination '<database_name>'."
    }
}
Workaround (if you want to use a system-assigned identity):
- Create the DCR as usual with a user-assigned managed identity (follow the main guide).
- After the DCR exists, remove the user-assigned identity from the DCR and revoke the Database Ingestor role from that identity in ADX so nothing is left unused.
- On the DCR’s Identity page, turn on the system-assigned managed identity.
- In ADX, grant the Database Ingestor role to this ’new’ system-assigned identity.
- This adds a few steps to the process but lets you use a system-assigned identity if you prefer resource-specific, non-reusable identities (e.g. for least-privilege logging pipelines).
Last Words
If you have a hybrid (on-premises and Azure) environment, it’s worth exploring this feature and testing it yourself.
Try it in a test environment or lab first; your experience may differ with your ADX and Arc configuration, but for hybrid monitoring it’s a path worth evaluating.